Platform
Developers
Resources
Documentation
Walkthrough Guides
SDKs and APIs
Integrations
A/B Testing Calculator
How Statsig Works
Blog
Support
Customer Stories
Events
Build vs Buy
Contact Sales
Feature Flags Liberated
Gating features is a core part of the development process. And with Statsig, it's free.
How AI Companies Use Statsig
The best AI companies use Statsig to accelerate growth. Learn how you can do the same.
What is Product Observability?
Product observability means being able to monitor, control, and gain insight into all of your features.Documentation
Walkthrough Guides
SDKs and APIs
Integrations
A/B Testing Calculator
How Statsig Works
Blog
Support
Customer Stories
Events
Build vs Buy
Contact Sales
Experiments with Generative AI
We built a generative AI app in reactJS using OpenAI’s API and Statsig. Here’s what we learned:
Experimentation Platforms
The decision to build versus buy an experimentation and feature flagging platform is not an easy one.
CUPED Explained
CUPED is an implementation that uses pre-experiment data to explain the variance in the result data.
Statsig Analytics is a game-changer. Here's how to add it to your Next.js application.
By implementing Statsig Analytics into an application, users can enjoy:
Real-time data: Tracking user behaviors, interactions, and performance metrics in real-time, providing actionable insights.
Custom event logging: Users can log custom events to analyze specific user interactions and optimize engagement and conversion.
Comprehensive dashboarding: Statsig provides a user-friendly dashboard that allows for real-time monitoring and analysis of key performance metrics, user segmentation, and A/B testing.
How to get started:
1. Install the Statsig SDK
Integrating Statsig into your Next.js project is straightforward and begins with adding the SDK to your project using npm or Yarn.
To get started, first open the terminal and navigate to your project directory, then run one of the following commands depending on whether you’re using npm or Yarn:
or
This command installs the Statsig JavaScript SDK.
2. Initialize the SDK
Next, you’ll need to initialize the SDK within your Next.js app. You can do this by importing Statsig at the top of your pages/_app.js, which is the core file that loads with your application:
Place the initialization code inside the pages/_app.js file. Use your unique client SDK key, which you can obtain from your Statsig dashboard:
Initializing the SDK in this manner ensures that user activity is tracked throughout the user’s journey in your application, enabling detailed analytics and segmentation.
3. Log custom events
With Statsig integrated and initialized, you can start logging custom events to track specific interactions within your app. Custom events provide deep insights into how users interact with your app and what drives engagement and conversion.
Use the logEvent method to capture user action:
Logging such events allows you to gather data about how users interact with specific elements in your site or app, which is invaluable for optimizing user flows and improving overall user experience.
4. Use the Statsig dashboard
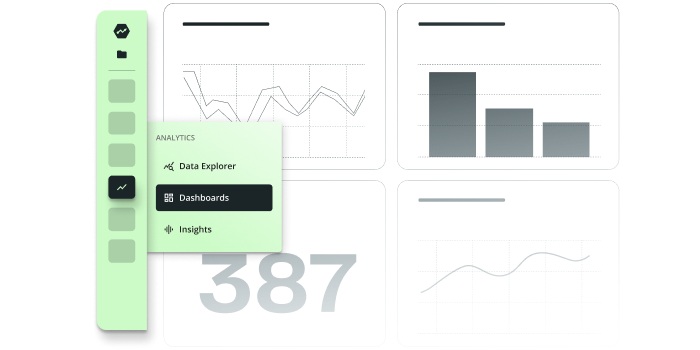
The Statsig dashboard will allow you to:
Monitor and analyze user behavior, engagement metrics, and conversion rates in real time.
Customize your analytics views to focus on the metrics that matter most to your business.
Segment users based on behavior, demographics, or custom properties to better understand different user groups.
Set up A/B tests and feature flags directly from the dashboard to experiment with new features or changes without needing to deploy new code.
Any questions?
If you have any questions on how to accomplish this—or anything else within Statsig—please don’t hesitate to reach out!
Related reading:
Create a free account
Build fast?


Recent Posts
How to track your features' retention
Explore flexible retention metrics beyond simple return rates. Learn to define meaningful actions and timeframes, manage seasonality, and use Statsig for detailed insights.
How e-commerce companies grow with Statsig
The e-commerce buyers' journey can be segmented into four steps: Discovery, Research, Checkout, and Retention. Here's how to approach each of them.
How to optimize the digital experience with Session Replay tools
Learn how session replay tools capture user interactions, identify pain points, and optimize user experience.
Startup programs for early stage companies (living document)
We’re committed to supporting startup growth and innovation, which is why we've curated a list of top startup programs that offer invaluable resources.
Introducing stratified sampling
Discover the power of stratified sampling on Statsig. Avoid pre-existing differences in your experiments, reduce false positives, and achieve consistent, trustworthy results.
Behind the scenes: Statsig's backend performance
Have you ever wondered how Statsig is able to support +200 billion events every day? Learn what's under the hood.