Using Feature Flags/Gates in your app is simple and straightforward. This article will show you a step-by-step process of creating a simple Node.js app that responds to feature gate changes in almost-real-time.
This article assumes you have npm installed on your dev environment. More detailed documentation is available here.
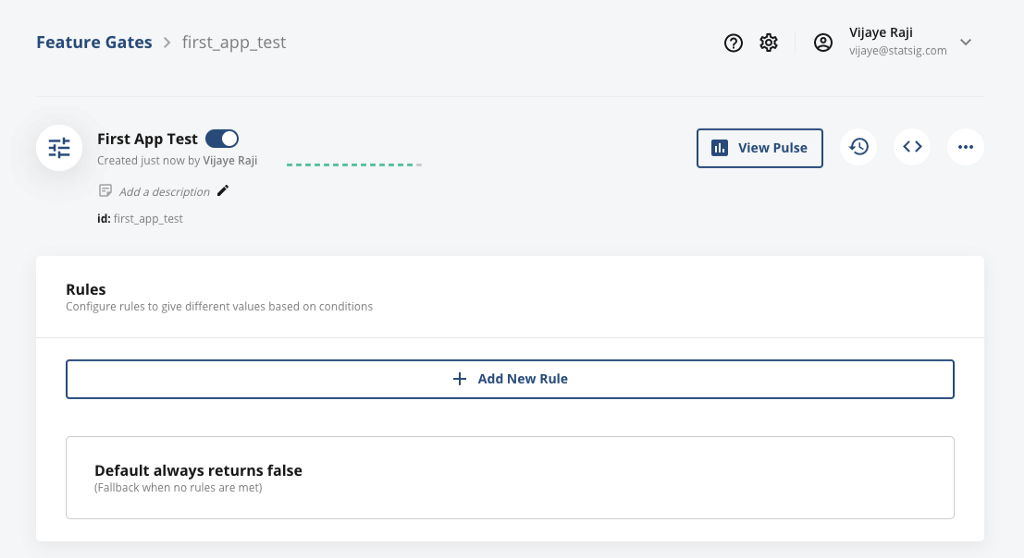
If you don’t already have an account, create one for free at https://www.statsig.com/ and create a new Feature Gate named “First App Test”
The first step to creating the Node app in your command line terminal is:
$ mkdir statsigNodeApp && cd statsigNodeApp
$ npm init --yes
This will create a package.json file in the statsigNodeApp directory.
Next, let’s install statsig-node SDK.
$ npm install statsig-node
Now, we’re all set to write our main app’s logic. Here’s the code that checks the gate we just created every second and writes out whether it passes or not. Copy and paste this into a file named index.js.
https://medium.com/media/153cc5e35683db3d164c4e419232f32b/href
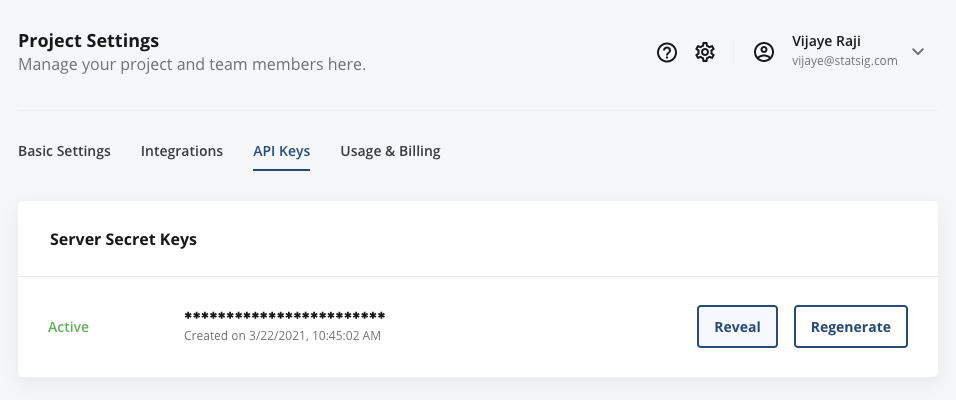
One last thing is you need to replace the ‘secret-API-KEY’ with your own API key, which you can find in your project’s settings:
With that replaced, you are ready to run this app by issuing this command:
$ node index.js
You will see something like this in the output:
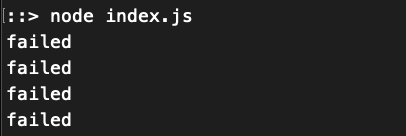
This means that the flag is evaluating to ‘false’ all the time. Let’s go ahead and create a new rule that turns on this feature for everyone.
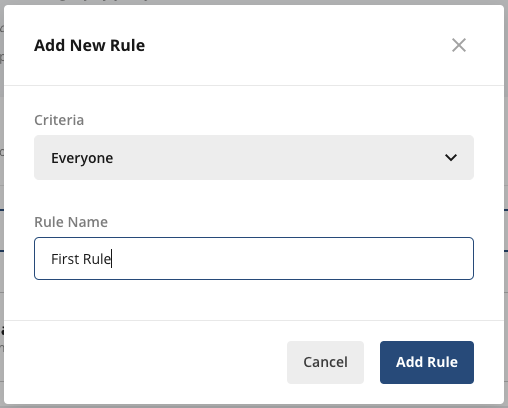
And let’s make sure to hit that ‘Save Changes’ button.

Now, if we had kept that Node App running, you’ll notice that it has started saying ‘passed’ automatically, since now this feature flag is turned on to everyone.
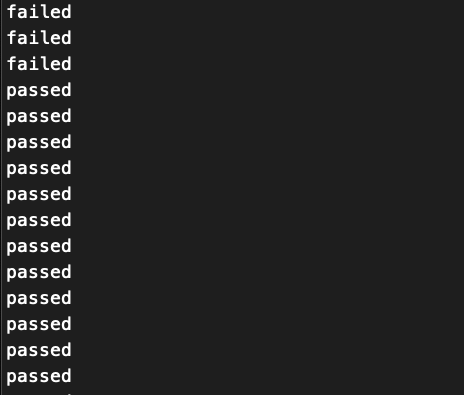
You can now try turning off this feature in the console.
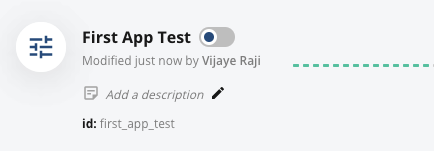
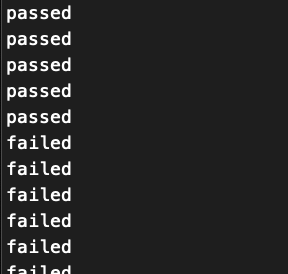
Which will immediately make the feature fail the check and the app will go from ‘passed’ to ‘failed’ to reflect the change.
And that’s it!
Hope this was helpful in getting you started and on your way to creating more complex features! As always we’re here to help out. You can join our Slack community here: https://statsig.com/community.
Stay ahead of the curve
Recent Posts
Announcing Statsig Sidecar: Website A/B tests made easy
With Statsig Sidecar, marketers and web developers can run experiments and A/B tests directly on a website without writing any code.
The top 8 A/B tests to run on a website
Ever wondered what types of things on your website are applicable for A/B testing? The short answer: All of them.
The value propositions of warehouse native experimentation
Warehouse Native experimentation offers flexibility, agility, and trust, helping organizations gain deeper insights while reducing experiment cycle times.
Experimentation metrics in software development (with examples!)
Experimentation metrics are quantifiable measures used to evaluate the impact of changes made to a software product. Discover how to set them up and use them effectively.
The top 4 Adobe Target alternatives for testing
Explore the top 4 Adobe Target alternatives for testing. Understand why Statsig leads the pack in optimizing your digital experiences.
The role of confidence levels in statistical analysis
Learn about confidence levels, how they are used in statistical analysis, and the implications they carry for decision-making.


